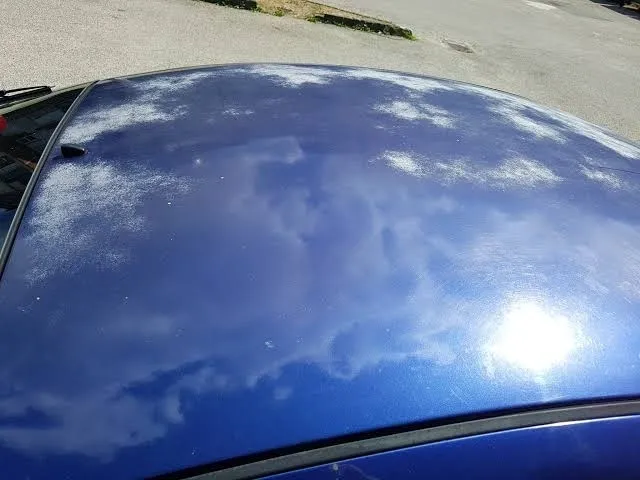
Vinyl is engineered to bond with paint, not with loose or compromised clear coat. If the clear coat is peeling, the vinyl will bond to that unstable layer and when it inevitably lifts, so will your wrap. This leads to:
- Edge lifting and bubbling
- Visible imperfections under the film
- Reduced durability and weather resistance
In short, you’ll be redoing the job far sooner than expected costing time, money, and reputation.
Aesthetics Matter, Especially in Branding
For businesses using vehicle wraps as mobile billboards, first impressions are everything. A wrap applied over a failing clear coat can show texture inconsistencies, discoloration, or even cracking. That’s not just a cosmetic issue, it undermines your brand’s professionalism.
At WrapArt, we believe every vehicle should reflect the quality of the brand it represents. That starts with proper prep.
What Should Be Done Instead?
Before wrapping, inspect the vehicle thoroughly. If the clear coat is failing:
- Sand down the affected areas to remove loose material.
- Feather the edges to blend with surrounding paint.
- Prime and seal the surface to create a uniform base.
- Optionally repaint if the damage is extensive and affects branding visibility.
This prep ensures the vinyl bonds securely and looks flawless, whether it’s a full wrap or a bold logo placement.
Final Thought
Skipping prep might save a few hours upfront, but it’ll cost you in callbacks, warranty issues, and customer dissatisfaction. Removing failing clear coat isn’t just good practice, it’s professional integrity. At WrapArt, we treat every surface like a canvas, and every wrap like a signature.